Basement Floor Plan Layouts: Traffic Flow, Storage, and Utility Placement
Most basement floor plan layouts fail for the same three reasons: the traffic flow forces people to walk through one room to reach another, storage gets shoved wherever there was leftover space, and the mechanical room ends up in the wrong corner. None of those mistakes show up on a Pinterest board. They show up two years after the drywall goes in, when you realize the furnace filter is behind the couch and the first thing guests see at the bottom of the stairs is a plywood door to your junk room. This guide walks through how to lay out a basement so the space works, the code stuff is handled from day one, and you never pay to move a wall twice.
It is written for the homeowner who has already decided to finish the basement and now needs to get the plan right. If your basement has a history of dampness or a musty smell every spring, the layout decisions below matter even more, because where you put walls, flooring, and utilities determines how easy it is to keep moisture problems from coming back.
Start With What You Cannot Move
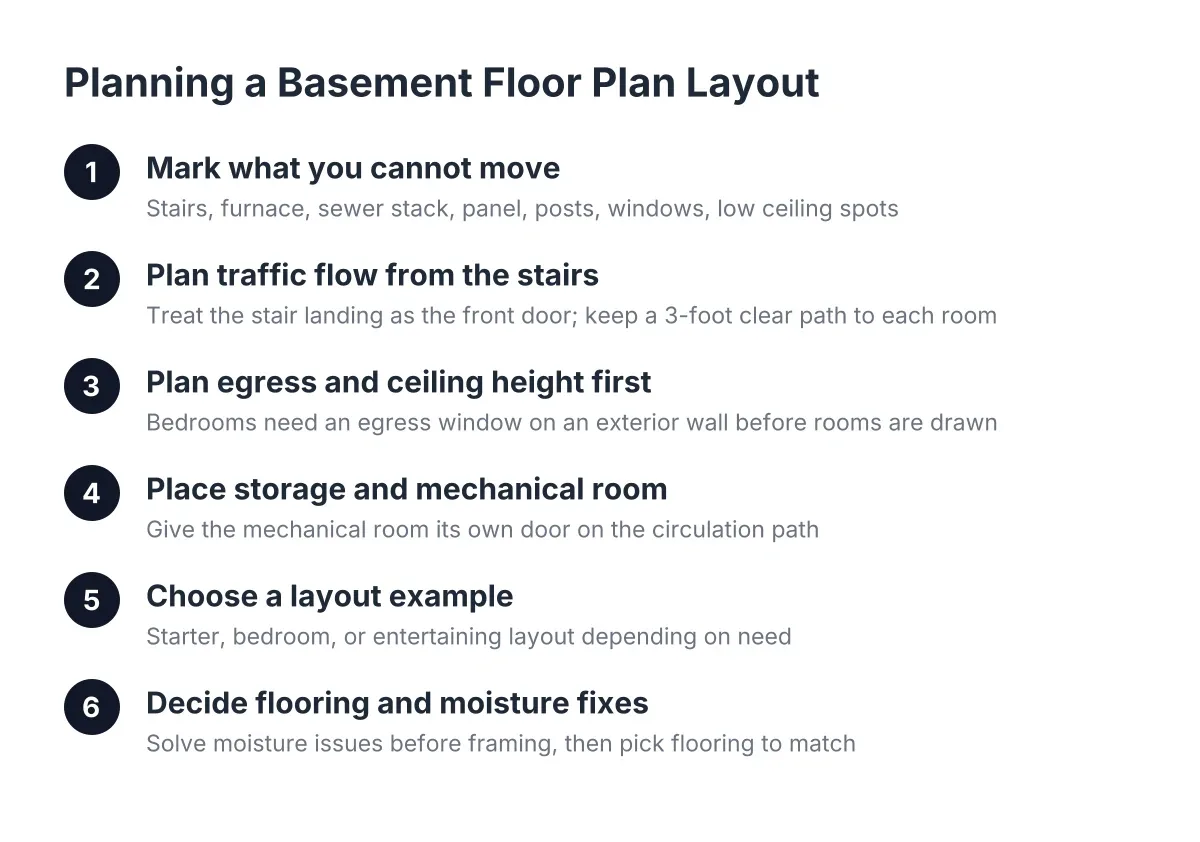
Before you sketch a single wall, walk the basement and mark everything that is fixed or expensive to relocate. In a typical Minneapolis basement, that list looks like this:
- The stairs and the landing at the bottom
- The furnace, water heater, and any radon mitigation equipment
- The main sewer stack and floor drain
- The electrical panel
- Support posts and beams
- Existing windows, and the walls where an egress window could go
- Low spots where ductwork or beams drop the ceiling height
These fixed points are the skeleton of your layout. Everything else bends around them. Homeowners who skip this step often draw a beautiful floor plan, then discover the bedroom they planned has no wall suitable for an egress window, or the bathroom sits thirty feet from the sewer stack. Both mistakes mean redesign, and redesign after framing starts is where budgets die.
The sewer stack deserves special attention. A basement bathroom placed near the existing drain line is a plumbing job. A basement bathroom placed across the house from it may need a sewage ejector pit, concrete cutting, and a bigger bill. Neither is wrong, but you should choose with your eyes open, not find out at the estimate stage.
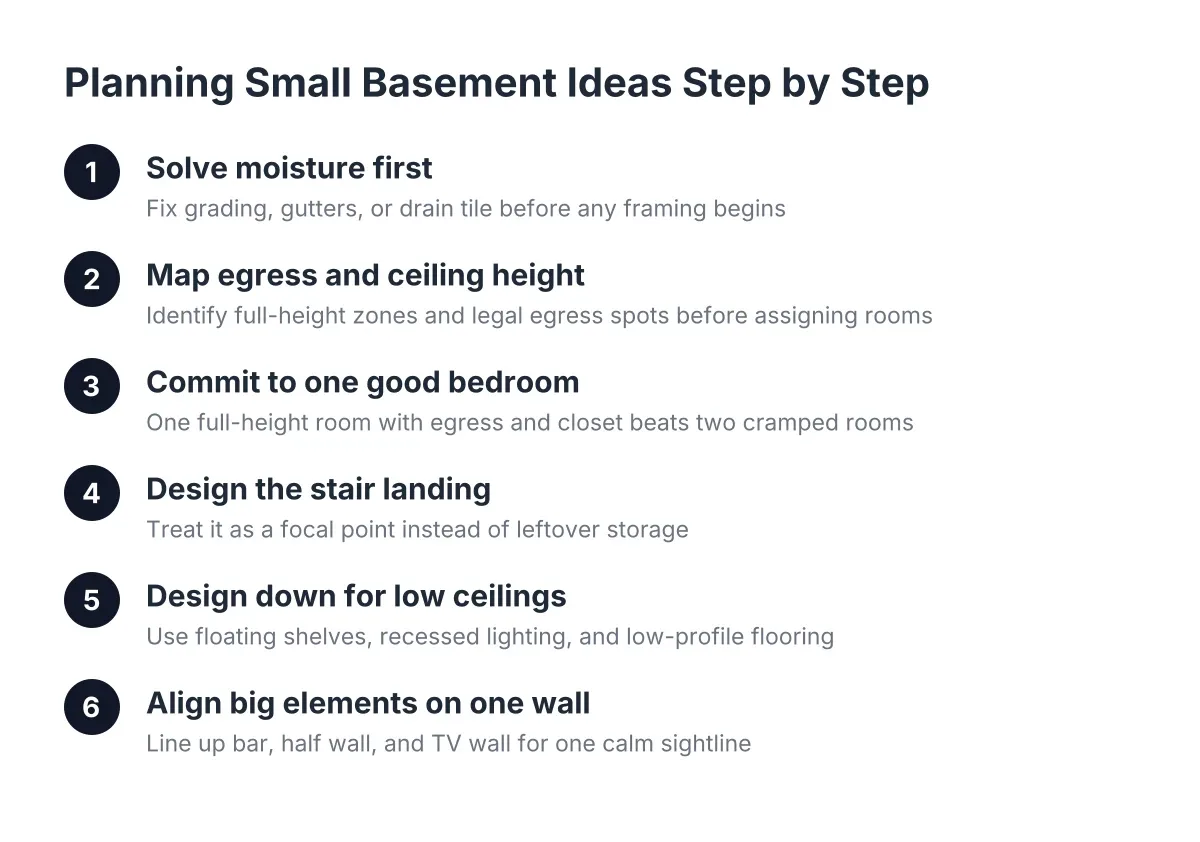
Moisture belongs on this list too. If you have seen efflorescence on the foundation wall, water stains after heavy rain, or mold under old carpet, map where the water shows up. Those spots influence where you put finished rooms, where you leave access to the foundation, and what flooring you choose. A basement with a moisture history can usually be finished, but the water problem gets solved first, before framing, not patched around it. If you are unsure whether the source is grading, gutters, or groundwater, have a professional look before you commit to a floor plan.
How Traffic Flow Shapes Basement Floor Plan Layouts
Traffic flow in a basement floor plan means every room should be reachable from a hallway or open area without cutting through another finished room. Basements have one entry point, the stairs, so all circulation radiates from that landing. Get the landing zone right and the rest of the layout tends to fall into place.
Here is the most common layout mistake in finished basements: the space at the bottom of the stairs gets left as unfinished storage, and only the area off to one side gets finished. The result is that every trip downstairs starts with a view of exposed studs and storage bins before you turn the corner into the nice part. It wastes the most visible square footage in the whole basement.
Flip that thinking. Treat the base of the stairs as the front door of the basement. It should open into the largest, best finished space, usually the family room. Bedrooms, the bathroom, and storage branch off from there. A simple test: stand at the bottom of the stairs in the unfinished space and ask what you want to see first. If the answer is a TV wall, a fireplace, or a bar, plan the layout so that view is the first thing down the steps.
A few flow rules that hold up in almost every basement:
- Keep a clear path at least three feet wide from the stairs to each doorway.
- Never route the path to a bedroom through the family room seating area; push seating to one side and circulation to the other.
- Put the bathroom off the main path, not behind the furthest bedroom, so guests can use it without walking through private space.
- Give the mechanical room its own door on the circulation path, not inside a bedroom or behind the laundry.
For example, suppose a homeowner has a 900 square foot rectangular basement with stairs landing near the center. A layout that works well: open family room straight ahead of the stairs, bedroom and egress window on the far exterior wall, bathroom tucked beside the existing sewer stack, and mechanical plus storage along the wall with the furnace. Every room opens to the central space, no room passes through another, and the plumbing stays cheap.
Plan Egress and Ceiling Height Before You Draw Rooms
Code constraints decide where certain rooms can go, so they belong at the start of basement layout design, not the end. The two that shape Minneapolis basements most are egress and ceiling height.
If you want a legal bedroom in the basement, it needs a code-compliant egress path, which in most basements means an egress window in that room. That requirement limits bedroom placement to walls where an egress window can be installed, which usually means an exterior foundation wall with room outside for a window well, or the exposed wall of a walkout basement. Interior rooms with no window access cannot be bedrooms, no matter how nice they look on paper. The specific dimensional requirements come from the building code and your permit review, so confirm them with your contractor or the city before finalizing the plan.
Ceiling height works the same way. Minimum heights apply to habitable rooms, and beams, ducts, and pipes create low spots that may not count. Instead of fighting the low areas, assign them jobs that do not care about headroom:
- Run hallways and circulation paths under ductwork soffits
- Put storage closets, the mechanical room, or a media cabinet wall under beams
- Keep seating areas, bedrooms, and the bathroom in the full-height zones
Low ceiling basement design gets easier when you stop treating the whole floor as equal. A duct chase over a hallway bothers no one. The same duct over the middle of a family room bothers everyone, every day.
This is also the stage to loop in permits. A layout drawn around egress and height rules sails through plan review. A layout drawn around Pinterest photos often comes back with required changes, and changes after framing cost real money. As of 2026, Minneapolis requires permits for basement finishing work including framing, electrical, and plumbing, so plan on inspections and design to pass them the first time.
Where Storage Goes in a Basement Floor Plan
Storage in a basement floor plan should be planned as specific closets and rooms, not leftover unfinished space. Aim for about 10 to 15 percent of the floor area in dedicated storage, placed along low-ceiling zones and near the stairs. Planned storage keeps bins out of the finished rooms and off the mechanical room floor.
Basements are the storage engine of the house, and finishing one without a storage plan just relocates the clutter upstairs. Think in three tiers:
- Deep storage: holiday bins, off-season gear, keepsakes. This can live in an unfinished or semi-finished room with sealed concrete and shelving, ideally along the same wall as the mechanicals.
- Active storage: games, blankets, kid gear, tools you grab monthly. Build closets into the finished rooms for these, especially under-stair and soffit zones.
- Display storage: open shelving in the family room or bar area. In below-grade spaces, open floating shelves feel lighter than upper cabinets and keep the room from closing in.
The space under the stairs deserves better than a plywood door and a pile of boxes. It is climate-stable, which makes it a natural spot for wine storage, a built-in reading nook, or a set of finished pull-out drawers. Because it sits right at the basement entry, whatever you do there sets the tone for the whole floor.
One moisture note for the skeptics: do not store anything directly against foundation walls or on bare concrete in a basement with any damp history. Plan shelving that holds items off the floor, and leave an access panel or removable section wherever you have had past seepage, so you can inspect the wall without demolition.
Placing the Mechanical Room and Utilities
The mechanical room placement follows one rule: keep the furnace, water heater, and panel accessible without moving anything. Code and manufacturer clearances require working space around this equipment, and inspectors check it. A mechanical room that is tight on day one becomes a problem the first time the water heater needs replacement.
Practical guidelines that save headaches later:
- Give the mechanical room a full-size door that swings clear, wide enough to remove and replace a water heater.
- Keep the electrical panel accessible with clear working space in front of it; do not bury it inside a closet or behind the bathroom.
- Locate the room so a service tech can reach it from the stairs without crossing carpet with a wet water heater dolly. Hard flooring on that path is a small decision that pays off.
- Leave the floor drain accessible. In a basement with any moisture history, that drain is your insurance policy.
- Paint or epoxy the mechanical room floor after construction. A sealed floor contains concrete dust so it does not drift into the finished space every time the door opens, and it makes small leaks visible immediately.
Laundry placement rides along with this decision. Keeping laundry adjacent to the mechanical room shortens plumbing runs and keeps all the utility noise in one zone, away from the bedroom. If the budget allows, a shared utility corridor with mechanicals, laundry, and deep storage along one wall leaves the rest of the basement as clean, quiet, finished space.
Electrical planning belongs in the layout phase too. Decide now where the TV wall, bar outlets, and any future gym equipment go, because wiring is cheap before drywall and expensive after. In unfinished utility areas where wiring stays exposed, standard non-metallic cable is not best practice for exposed runs; according to the National Electrical Code (NFPA 70), running it inside EMT conduit is against code in damp or wet locations, which describes plenty of Minneapolis mechanical rooms. This is exactly the kind of detail a permit inspection catches, and another reason to design the utility zone deliberately rather than improvising during construction.
Basement Floor Plan Layout Examples That Work
Basement floor plan examples worth copying share a pattern: open shared space at the stairs, private rooms on the egress wall, and utilities grouped along one side. The three layouts below fit most rectangular Minneapolis basements and scale from a modest first project to a full build-out.
The starter layout: family room plus storage
Say a first-time finisher has $20,000 to $30,000 and a 700 square foot basement. The starter layout finishes the family room directly off the stairs, builds one storage closet under the soffit, and leaves the mechanical and laundry zone unfinished but sealed and painted. Rough in the bathroom plumbing now, near the sewer stack, and finish the bathroom in phase two. For context, Angi puts the average basement remodel between $30 and $75 per square foot, so phasing the plan is how many first projects stay on budget. This is the backbone of most finished basement ideas on a budget: finish the high-use space first, rough in the expensive stuff, and let the plan grow.
The bedroom layout: guest room, bath, and family room
In that scenario a family needs a fourth bedroom. The bedroom goes on the exterior wall with the best egress window location, the bathroom sits beside the sewer stack, and the family room fills the remaining full-height space at the stairs. The hallway to the bedroom runs under the main duct soffit, using the low ceiling for circulation instead of living space. This is how to add a bedroom in a basement without giving up the family room.
The entertaining layout: open plan with zones
For a larger walkout or daylight basement, skip most interior walls. Instead, define zones with the ceiling and the built-ins. A tray ceiling or a ceiling material change separates the game area from the lounge without blocking light. Aligning the bar, a half wall, and the TV wall along the same plane ties the open space together visually. Carrying one wall treatment, such as slat paneling, from the stairwell down into the main room previews the style before anyone reaches the bottom step. If a home gym is part of the plan, style it like a room you want to be in, with a mirror wall, good lighting, and finished flooring; a gym that feels like a storage corner goes unused within a year.
Whichever direction you lean, sketch it to scale before anyone prices it. A free basement floor plan designer app, or graph paper at a quarter inch per foot, is enough to test whether the couch, the pool table, and the walking paths actually fit. Most layout regrets are catchable with a tape measure and painter's tape on the concrete floor.
Flooring and Moisture Decisions That Follow the Layout
Flooring choices should follow the floor plan, because different zones have different moisture exposure and traffic. The path from the stairs to the mechanical room takes the hardest use and the highest spill risk; the bedroom takes the least. Matching flooring to zone is one of the most effective basement remodel ideas on a budget, since it puts the durable, waterproof material only where it earns its cost.
For the wet basement skeptic, the ground rules are simple. Fix the water source first, whether that is grading, gutters, or drainage. Then choose flooring that tolerates concrete moisture, such as luxury vinyl plank over an appropriate underlayment, rather than glue-down carpet over bare slab. Under new concrete work, a vapor barrier over the base course blocks ground moisture from migrating up into the slab, according to W. R. Meadows. In an existing basement, moisture testing on the slab before flooring goes down is cheap insurance against doing this twice.
The trade-off is honest: waterproof flooring and moisture prep add cost up front. Skipping them in a basement with a damp history is how homeowners end up pulling moldy carpet in year two and paying for the floor twice. If your basement has had standing water, get the moisture source diagnosed by a professional before finalizing the finish plan; some water problems are a downspout fix, and some genuinely need drainage work first.
There is a payoff at the end of all this planning. The National Association of Realtors found homeowners gave basement finishing a joy score of 9.5 out of 10 in its Remodeling Impact Report, and the same report found 64 percent of basement finishing costs recovered at resale, among the highest of the projects studied. A basement laid out around traffic flow, storage, and utilities is the version of the project that earns those numbers. One drawn around a mood board is the version that gets redesigned mid-build.
Plan the fixed points first, design the stair landing like a front door, group the utilities, and let the code constraints shape the rooms from day one. Do that, and the floor plan you sketch this month is the one that actually gets built.
If you need basement finishing, Minneapolis Basement Finishing Pros can help.
Prefer to talk it through? Call (651) 758-8806 — a quick call is usually the fastest way to get a straight answer for your situation.