How to Measure Your Basement Floor: Concrete Slab Calculator Basics
Before you order a single plank of flooring, you need two numbers: the square footage of your slab and the condition it is in. A concrete slab calculator handles the first part fast, but most Minneapolis homeowners use it wrong. They measure wall to wall, forget the closets, skip the waste factor, and end up short a box of flooring in February. This guide walks you through measuring your basement floor the way a contractor does, so your material order, your budget, and your permit paperwork all match reality.
This matters more if you are finishing a basement to add a legal bedroom. The inspector will look at your floor assembly, not just your egress plan. Getting the square footage and materials right the first time means fewer change orders and fewer surprises at inspection.
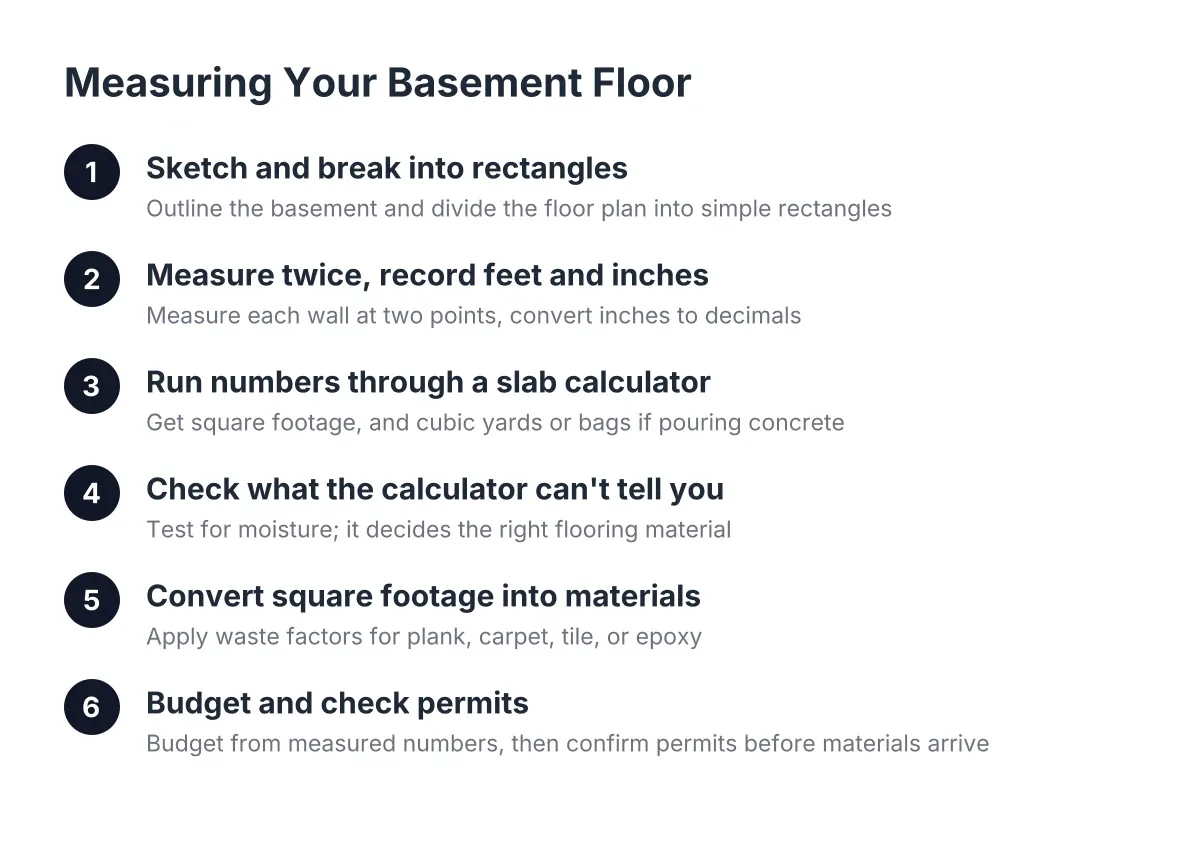
Step 1: Sketch the Basement and Break It Into Rectangles
Start with a rough sketch on graph paper or a notes app. Draw the outline of the basement, then mark every obstruction: the furnace, the water heater, support posts, the stair landing, and any planned walls.
Next, break the floor plan into simple rectangles. Almost every Minneapolis basement, even in an older story-and-a-half house, reduces to three or four boxes. The calculator only needs length times width, so rectangles are the language it speaks.
For example, suppose a homeowner has an L-shaped basement. The main room is 24 feet by 20 feet, and the leg of the L is 12 feet by 10 feet. That is 480 square feet plus 120 square feet, or 600 square feet total. Write each rectangle down separately; you will need them again when you split the space into rooms for flooring.
Step 2: Measure Twice and Record in Feet and Inches
Measure each rectangle at floor level with a tape measure, not from a listing sheet or an old appraisal. Foundations are rarely square, so measure each wall at two points and use the longer number.
Record everything in feet and inches, then convert inches to decimals before you run the math. Six inches is 0.5 feet, three inches is 0.25 feet. The slab calculator formula is just length in feet times width in feet, so a 23-foot 6-inch wall enters as 23.5.
In addition, note the ceiling height and the slab condition while you are down there. Cracks, white mineral staining, or damp spots change your material plan in Step 4, and low spots change your leveling budget in Step 5.
Step 3: Run the Numbers Through a Concrete Slab Calculator
A concrete slab calculator gives you square footage instantly and, if you are pouring new concrete anywhere, converts that area into cubic yards or bags. For most finishing projects you will not pour a new slab, but three common situations still call for the yardage math:
- Self-leveling underlayment for a wavy or sloped slab, ordered by the bag based on square feet and depth
- A small pour to fill an old floor drain trench or a plumbing trench for a basement bathroom rough-in
- Patching around removed posts, old sump pits, or cracked sections
For a pour, the calculator needs area in square feet and depth in inches, and it returns cubic yards. Say that hypothetical homeowner cuts a plumbing trench 12 feet long and 1 foot wide for a future basement bathroom, filled 4 inches deep. That is 12 square feet at 0.33 feet deep, about 0.15 cubic yards, which is a handful of 80-pound bags rather than a ready-mix truck.
Most calculators also show a bag count and a rough cost. Treat the cost number as a starting point only; local material prices in 2026 move month to month, and delivered ready-mix has minimum charges that no online tool captures well.
What a Concrete Slab Calculator Cannot Tell You
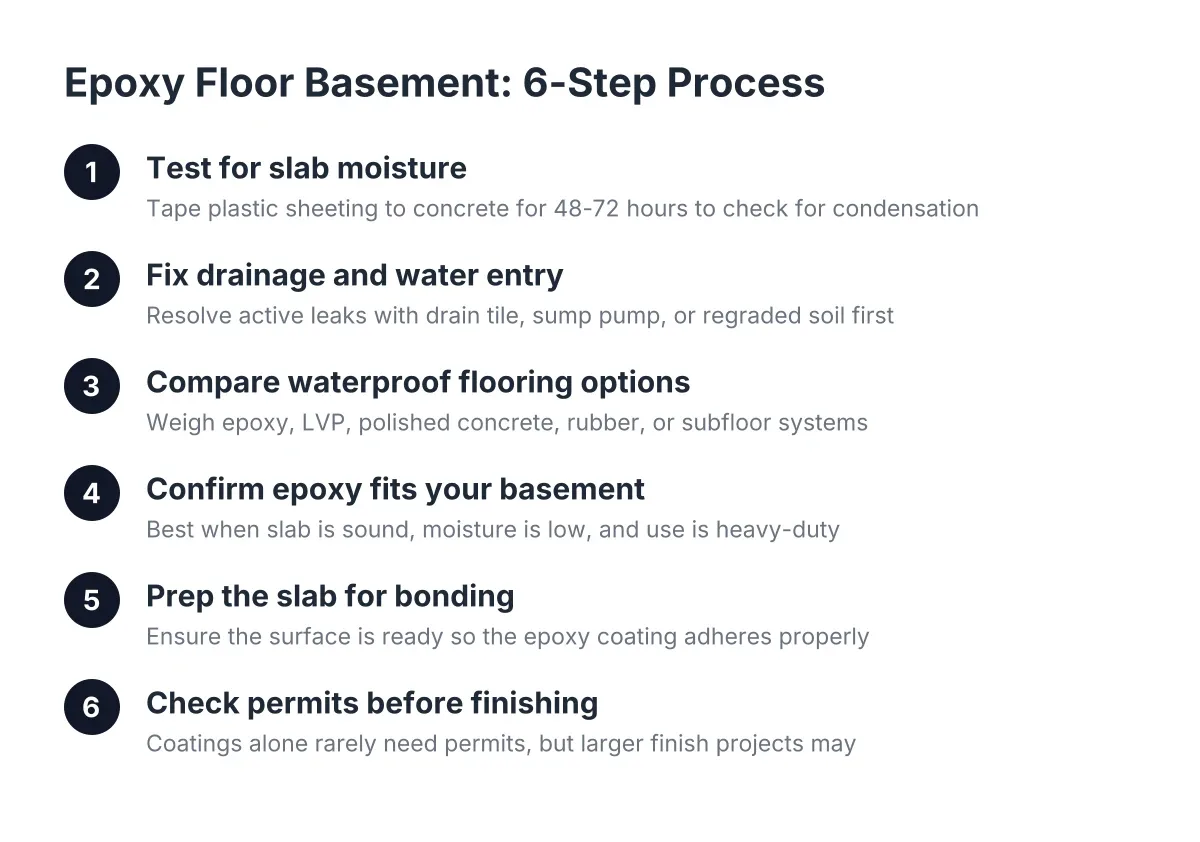
The calculator cannot see moisture, and moisture decides everything about basement flooring in Minneapolis. Our slabs sit on clay soil, run cold most of the year, and often lack the vapor barrier that newer construction requires. The calculator gives you quantity; a moisture test gives you the right material.
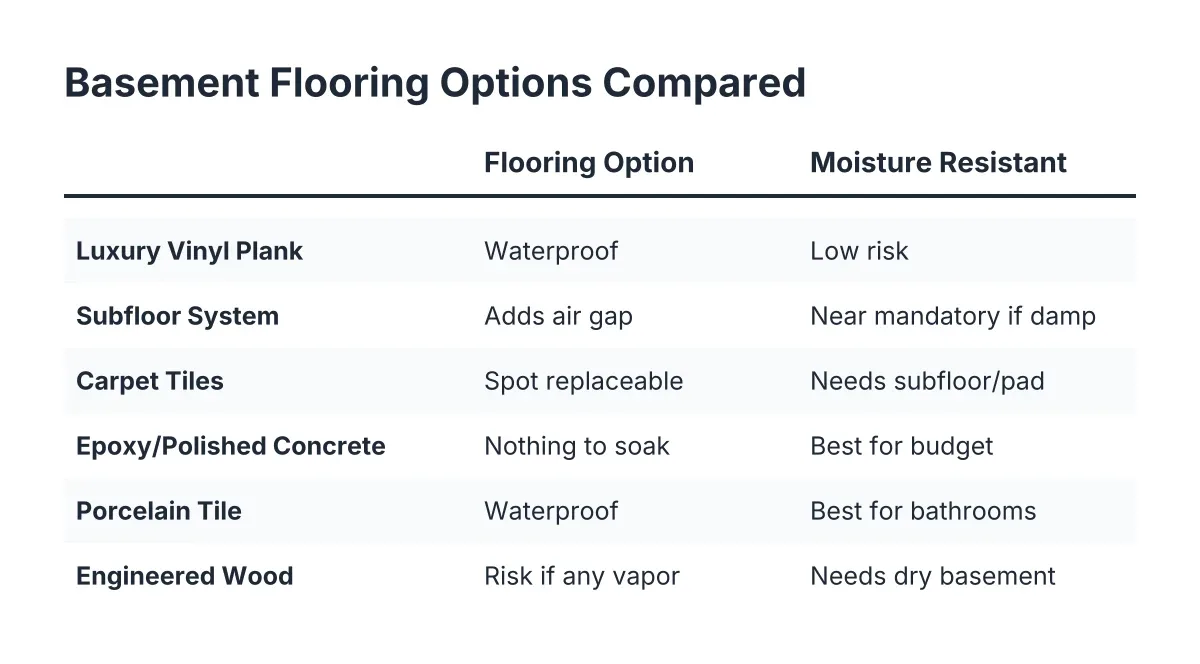
Therefore, before you order flooring, tape a 2-foot square of plastic sheeting to the slab and leave it for 48 hours. Condensation or a dark spot under the plastic means vapor is coming up through the concrete. That result points you toward waterproof flooring for basement use and possibly a subfloor system, not glue-down products or carpet directly on the slab.
Step 4: Convert Square Footage Into Flooring Materials
Now turn your total area into a material order. Flooring never sells by the exact square foot; it sells in boxes, and you cut waste on every row. Use these waste factors as a working rule:
- Luxury vinyl plank: add 10 percent for straight layouts, 15 percent if the room has angles or many doorways
- Carpet: add 10 to 20 percent depending on roll width and seam placement
- Tile: add 10 percent, or 15 percent for diagonal patterns
- Basement flooring epoxy: buy by coverage per kit, then add one extra kit for porous or older concrete that drinks the first coat
For the 600-square-foot example above, a vinyl plank order at 10 percent waste is 660 square feet. If boxes cover 23.8 square feet each, that is 28 boxes, not 26. Ordering the extra two boxes now beats hunting for a matching dye lot next winter.
However, epoxy paint for basement floor projects works differently. It is a coating, not a covering, so your slab condition matters more than your waste factor. Epoxy suits utility rooms and workshops well, but it stays cold and hard underfoot, which is why most finished living areas in Minneapolis end up with vinyl plank over a moisture barrier instead.
One honest trade-off: a subfloor system with built-in vapor channels adds comfort and protects flooring from slab moisture, but it costs more per square foot and steals about an inch of ceiling height. In a basement that is already tight on the height needed for habitable space, have a contractor measure before you commit.
Step 5: Budget From Your Measured Number, Not a Guess
With a verified square footage, your budget stops being a guess. Multiply your area by realistic unit costs for your chosen material, underlayment or moisture barrier, leveling compound if the plastic-sheet test or a straightedge flagged problems, and labor.
For context on the whole project, an average basement remodel runs between $30 and $75 per square foot according to Angi. Flooring is one slice of that, but an accurate floor measurement anchors every other line item, from drywall to trim. The payoff is real: the National Association of Realtors Remodeling Impact Report found homeowners recover 64 percent of basement finishing costs at sale, one of the highest returns among the 20 projects studied.
As a result, a measured 600-square-foot basement gives you a number you can hand to three contractors and compare quotes line by line. Vague square footage invites vague bids.
Step 6: Check Permits Before Materials Go In
Flooring alone rarely triggers a permit in Minneapolis. However, the work around it usually does. Framing new walls, adding a basement bathroom, moving electrical, or converting space into a legal bedroom all require permits and inspections.
If your goal is a bedroom, the inspector will care about ceiling height over the finished floor, which is where that subfloor thickness from Step 4 comes back into play. They will also review egress and the overall habitability of the space. This is one place to bring in a professional early; a contractor who knows Minneapolis basements can tell you whether your planned floor assembly leaves enough height before you buy anything.
Keep your sketch, your measurements, and your calculator printouts in one folder. When you apply for permits or request estimates, that documentation speeds everything up and shows you have done the homework.
Quick Reference: The Whole Process in Five Minutes
Here is the short version to run on your phone in the basement:
- Sketch the space and split it into rectangles
- Measure each rectangle at floor level, twice
- Total the square footage with a concrete slab calculator, and get cubic yards for any patches or trenches
- Tape plastic to the slab for 48 hours to test for moisture
- Add 10 to 20 percent waste to your flooring order based on material
- Budget from the measured number and confirm permit needs before work starts
Measure carefully, test for moisture, and order with a waste factor. Do those three things and your flooring order will match your floor, your budget will hold, and your inspection will go the way you planned it.
If you need basement finishing, Minneapolis Basement Finishing Pros can help.
Prefer to talk it through? Call (651) 758-8806 — a quick call is usually the fastest way to get a straight answer for your situation.